Home renovation projects in the USA often involve plumbing updates, but common errors can lead to leaks, code violations, and expensive fixes. Following US building codes like the International Plumbing Code (IPC) and securing permits helps prevent these issues. This guide outlines key mistakes and avoidance strategies for safe, compliant renovations.
Plan Plumbing Early
Ignoring plumbing layout during initial design ranks among the top errors in US home remodels. Homeowners frequently relocate sinks, showers, or dishwashers without assessing pipe rerouting needs, resulting in wall cutouts, delays, and costs exceeding budgets by thousands. In the USA, consult local codes under the IPC, which mandate feasible layouts to avoid disrupting drainage or supply lines.
To avoid this, involve a licensed plumber in the planning phase before demolition. They evaluate existing systems against your vision, ensuring efficiency and compliance with state-adopted codes like those in the Uniform Plumbing Code (UPC). Map fixture positions early, factoring in vent stacks and drain slopes—typically 1/4 inch per foot for horizontals—to prevent backups.
Check Permits and Codes
Skipping permits violates US regulations and invites fines or stop-work orders. Most states require permits for plumbing changes altering pipes, fixtures, or footprints, per the National Association of the Remodeling Industry guidelines. Local authorities enforce IPC or UPC, with violations like missing nail plates on pipes near framing leading to failed inspections.
Secure permits from your city or county building department before starting—processes take 1-3 weeks. Verify requirements for your project; minor faucet swaps may skip permits, but relocating toilets or adding lines demands them. Hire licensed pros familiar with 2025 updates, including lead-free materials and water efficiency standards.
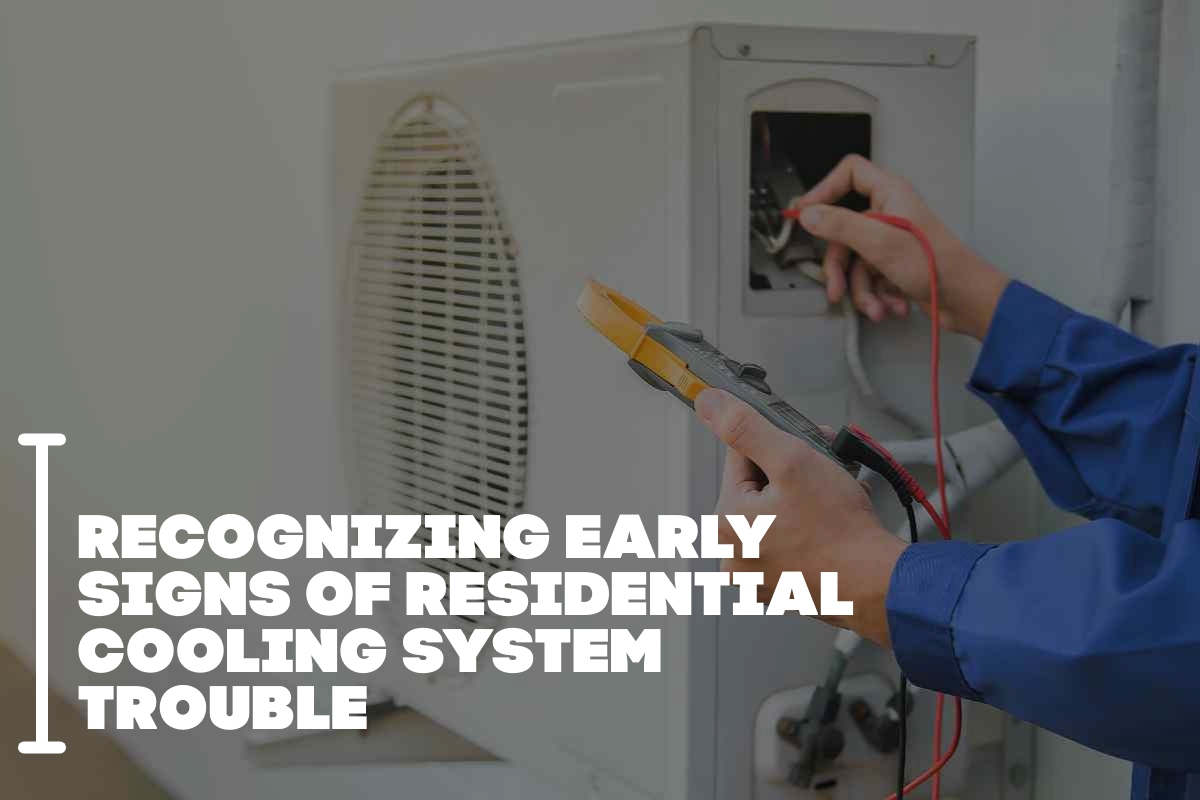
Select Quality Materials
Opting for cheap pipes or fittings causes premature failures, as low-grade plastics crack and non-code faucets corrode quickly. US codes prohibit incompatible materials, like mixing copper with galvanized steel, which corrodes and leaks. EPA WaterSense-labeled fixtures ensure efficiency and compliance.
Choose PEX, CPVC, or copper pipes sized correctly—1/2-inch for branches, 3/4-inch mains—to maintain pressure without backups. Buy from reputable suppliers meeting ANSI standards, avoiding mismatched types that reduce flow or void warranties.
Measure and Size Precisely
Inaccurate measurements lead to ill-fitting pipes or fixtures, wasting time and materials. Undersized pipes drop water pressure, causing clogs and damage, while oversizing wastes resources—a frequent IPC violation. Double-check dimensions for sinks, tubs, and lines, accounting for slopes and turns.
Use pipe cutters and levels for exact cuts, following manufacturer specs and local codes for diameters (e.g., 1.5-inch drains for lavatories). Test fits dry before soldering or gluing to confirm alignment.
Shut Off Water First
Failing to isolate water before work floods homes, damaging floors and walls. Locate main shutoffs—often at meters or basements—and fixture valves early. US codes require functional shutoffs at every fixture for safety.
Turn off supply, drain lines, and relieve pressure by opening faucets. Install accessible valves during renos for emergencies, per best practices. Pressure-test new installs at 5-10 psi air or water to detect issues pre-finish.
Avoid Overtightening Fittings
Excessive torque cracks fittings, strips threads, or warps seals, creating hidden leaks. Common in DIY, this stresses PVC or brass beyond specs. Hand-tighten plus 1-2 turns with wrenches, using thread tape on supply lines.
Support pipes every 4-6 feet with code-approved hangers to prevent sagging and joint stress. Inspect after pressurizing; tighten only if needed.
Install Proper Venting
Neglecting vents allows sewer gases indoors and slows drainage via vacuum effects. US codes require vents every 100 feet or per fixture, preventing gurgling or odors. Route vents through roofs, ensuring 6-inch clearances from wires.
Add air admittance valves for islands if roof vents aren’t feasible, but confirm local IPC allowances. Gurgling signals issues—fix before tiling.
Use Right Tools and Slope Drains
Wrong tools damage fittings; pipe wrenches slip on chrome, while incorrect slopes (under 1/4-inch per foot) pool water and clog. Basin wrenches access tight spots; levels verify pitch.
Employ P-traps under every fixture to block gases, avoiding illegal S-traps. Include cleanouts for access.
Hire Professionals When Needed
DIY beyond simple swaps risks codes, leaks, and warranties. Complex rerouting demands licensed plumbers for liability and insurance. Pros spot issues like old galvanized pipes needing replacement under 2025 rules.
Budget 10-15% extra for plumbing surprises; post-install, test flows and insulate against bursts.
Ensure Accessibility
Burying pipes without access panels complicates future fixes. Codes favor exposed or paneled shutoffs and cleanouts. Plan for maintenance in walls or slabs.
FAQs
1. Do all plumbing changes in a US home renovation need permits?
Permits are required for relocating fixtures, adding lines, or altering systems, but not minor replacements like faucets. Check local building departments.
2. What pipe materials comply with US codes for remodels?
PEX, copper, CPVC meet IPC/UPC; avoid lead or galvanized. Use WaterSense fixtures for efficiency.
3. How do I prevent low water pressure after reno?
Size pipes correctly (e.g., 3/4-inch mains), avoid too many fixtures per line, and vent properly.
4. Can I DIY plumbing in my remodel?
Simple tasks like faucet installs yes, but rerouting or venting needs pros to meet codes and avoid leaks.
5. Why test plumbing after installation?
Pressure tests (5-10 psi) detect leaks early, ensuring code compliance and preventing damage.